on
Installing Jenkins on Ubuntu 16.04
What is Jenkins?
Jenkins is just a thing that does things. On a schedule. Or on code change detection. Or on 'triggers'. In a nutshell, Jenkins helps you automate your workflow. Say you develop a software. You might have unit tests bundled in your software. A Jenkins job could watch your software's git repository and run these tests for you, like you would do manually, whenever a new commit is pushed.
If the tests are successful, you might want Jenkins to package/bundle/compile your software to produce an artifact you can install or deploy. When you have that artifact ready, you might even want Jenkins to deploy it for you in production.
It has the tools and plugins to help you do that but really you can do what you want using, for example, the shell provisioner to run bash/python/ruby/whatever scripts and commands. There is a lot of extra plugins for Jenkins so it can be used with different technology stacks. Literally, Jenkins could be used for automation of any processes.
eg: you want to download some torrents, easy, schedule a job on Jenkins to run past midnight ;)
Procedure
Prerequsites
Jenkins is an open source automation server written in Java. It is a server-based system that runs in servlet containers such as Apache Tomcat. Therefore Jenkins requires Java to be installed in the system. If your system lacks a Java installation, the following setup would be useful in installing it.
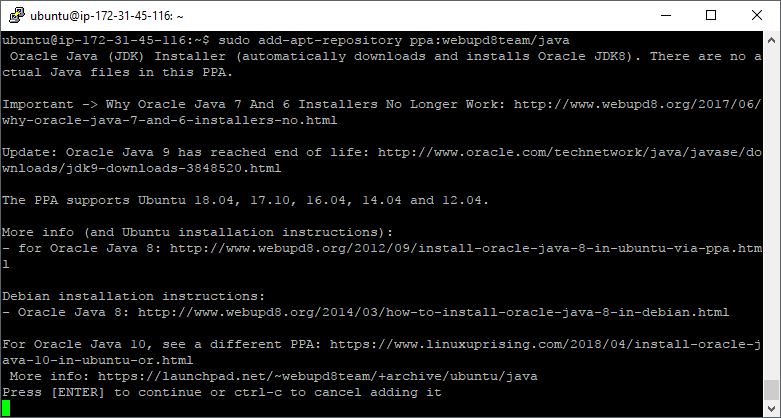
Add the PPA
sudo add-apt-repository ppa:webupd8team/java
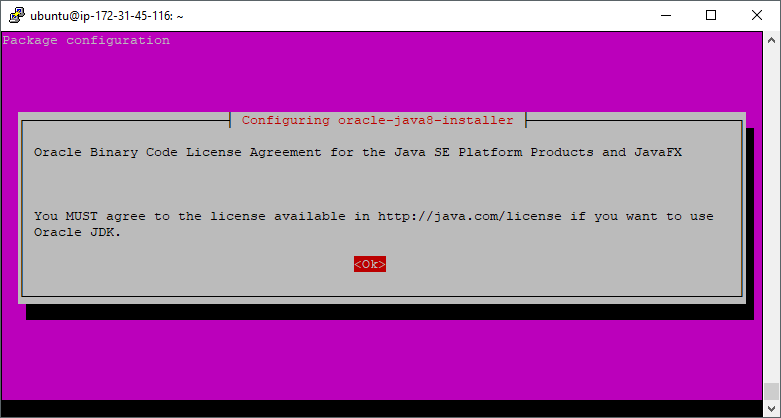
Update and install the installer script
Issue the following commands to update system package index and install Java installer script:
sudo apt update; sudo apt install oracle-java8-installer
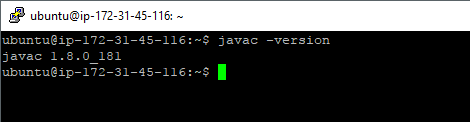
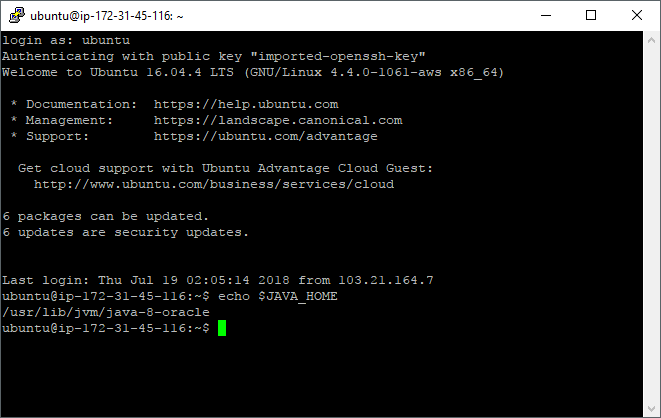
Check the Java version
javac -version
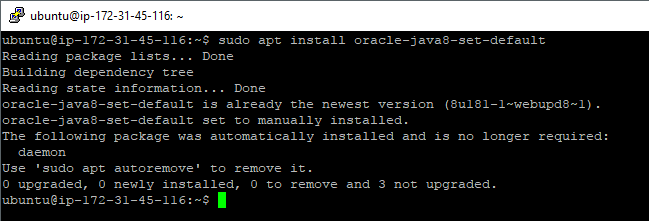
Set Java environment variables
sudo apt install oracle-java8-set-default
Installing Jenkins
The version of Jenkins included in the default ubuntu repos are often behind the latest available builds of the project. Therefore, to take advantage of the latest fixes and features, the Jenkins project maintained repo is added to the system.
First, add the repo key.
wget -q -O - https://pkg.jenkins.io/debian/jenkins-ci.org.key | sudo apt-key add -

Next, append the Debain repository address to the server's sources.list file.
echo deb https://pkg.jenkins.io/debian-stable binary/ | sudo tee /etc/apt/sources.list.d/jenkins.list

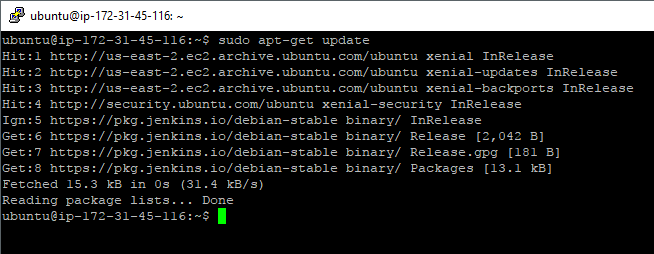
Now it's run an update to get the latest repo.
sudo apt-get update
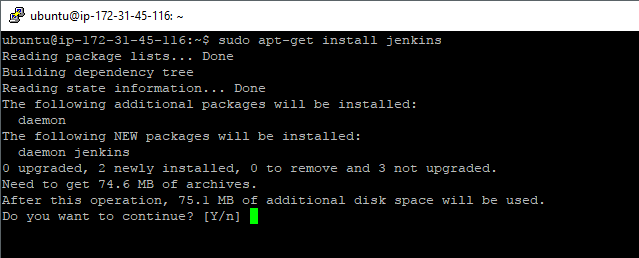
Install Jenkins Server by calling the command shown below.
sudo apt-get install jenkins
Starting Jenkins
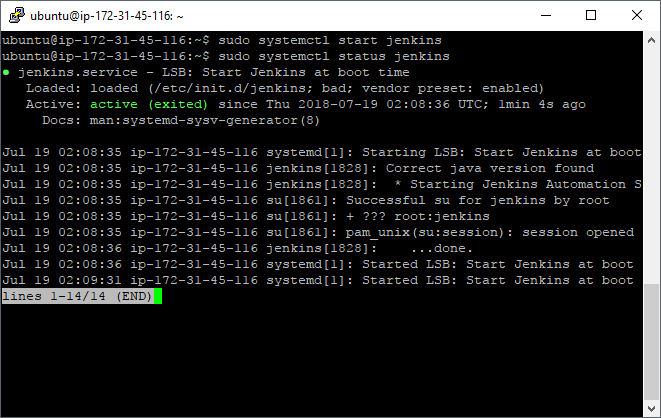
Using systemctl we'll start Jenkins:
sudo systemctl start jenkinsTo view the service's state information, use the status command with systemctl.
sudo systemctl status jenkins
Allowing incoming traffic via Firewall
Jenkins, by default runs on port 8080, so to open that port using ufw:
sudo ufw allow 8080
Check to see if the new rules are applied.
sudo ufw status
Status: active

To                         Action      From
--                         ------      ----
OpenSSH                    ALLOW       Anywhere
8080                       ALLOW       Anywhere
OpenSSH (v6)               ALLOW       Anywhere (v6)
8080 (v6)                  ALLOW       Anywhere (v6)
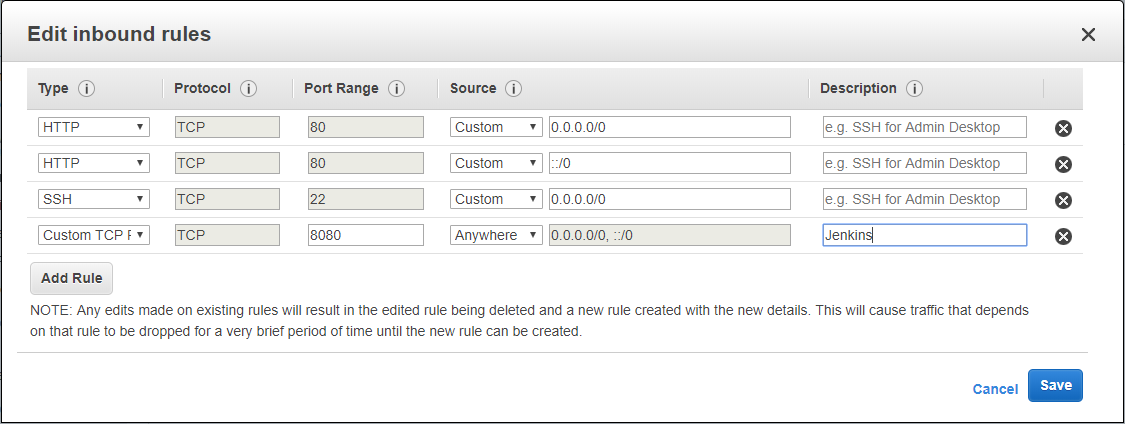
Note that you'll need to allow incoming traffic on port 8080 using the management console if the server is installed at AWS or another cloud service provider. Since I'm using AWS, my inbound rules are as follows.
Initial Configuration
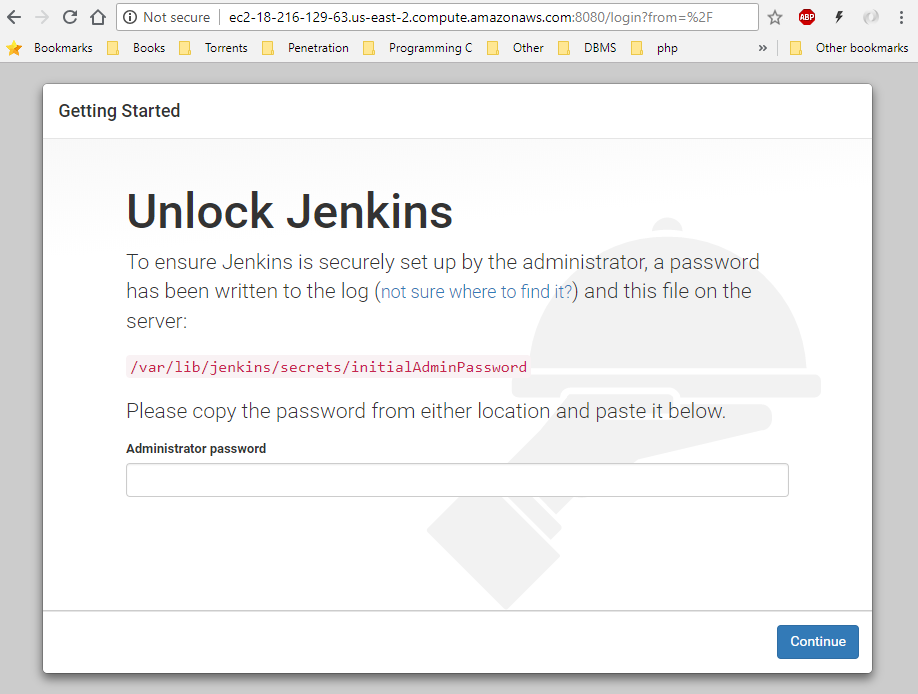
Visit the server address on port 8080: : http://ip_address_or_domain_name:8080
It should prompt a "Unlock Jenkins" screen.
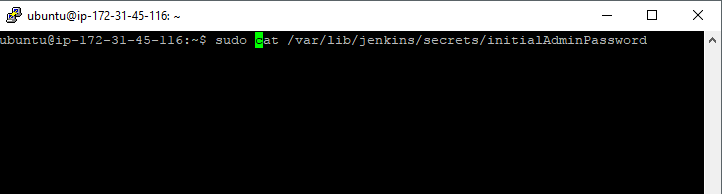
Use the cat command to display the password for the Jenkins instance.
sudo cat /var/lib/jenkins/secrets/initialAdminPassword
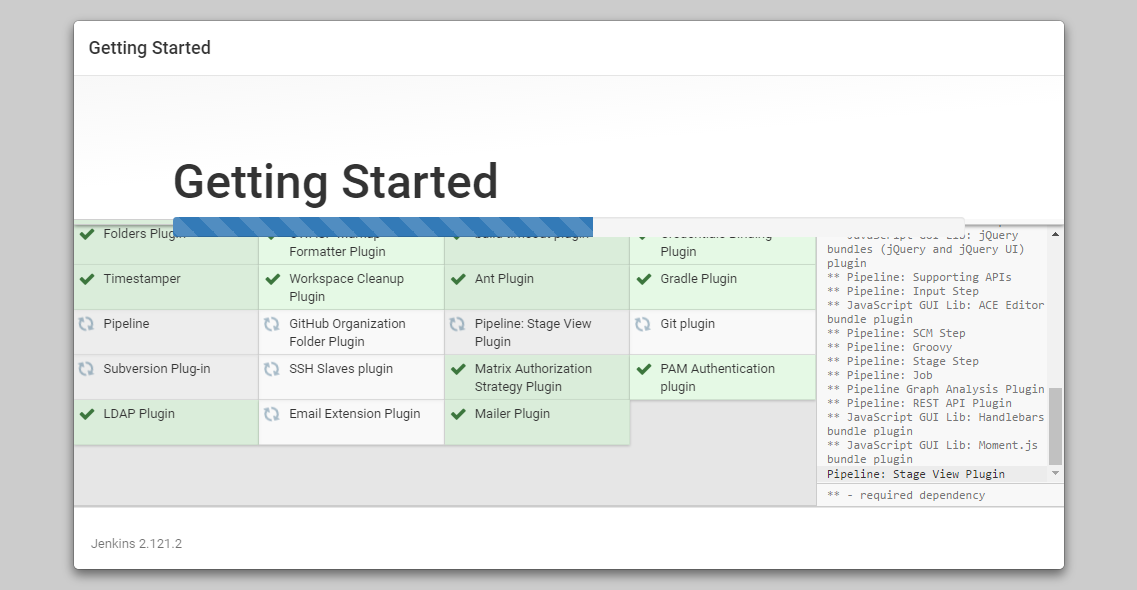
Copy the 32 character password and paste it into the Administrator Password field. The next screen presents the option of installing suggested plugins or specific plugins.

Selecting the "Install suggested plugins" option will immediately start the installation.
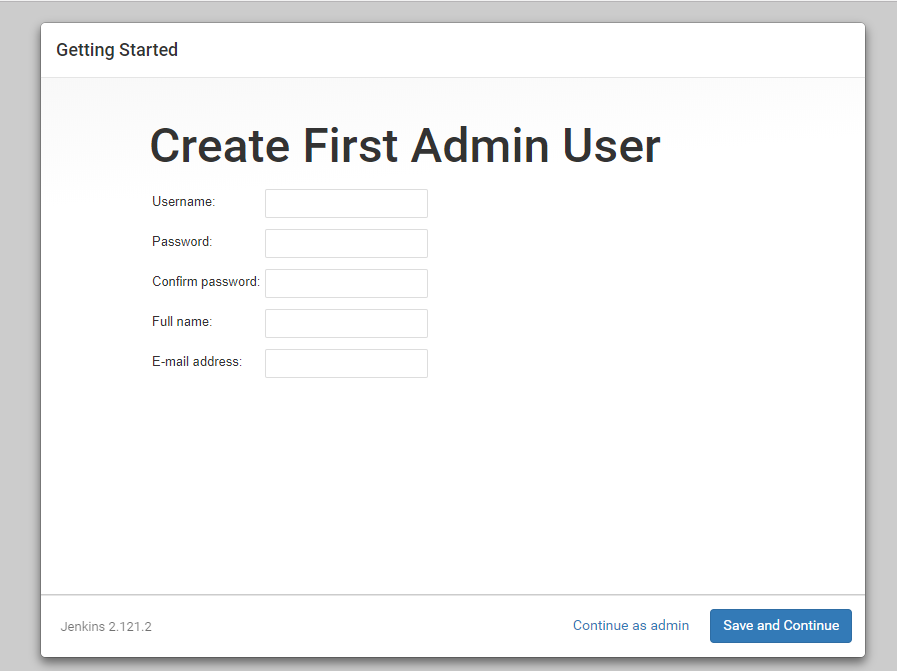
When the plugins are installed, you'll be prompted to create a new Admin user for the Jenkins instance. It is possible to skip this step, but for the sake of simplicity, take a moment to create a user.
Once that's complete, you'll be greeted with "Jenkins is ready" screen.
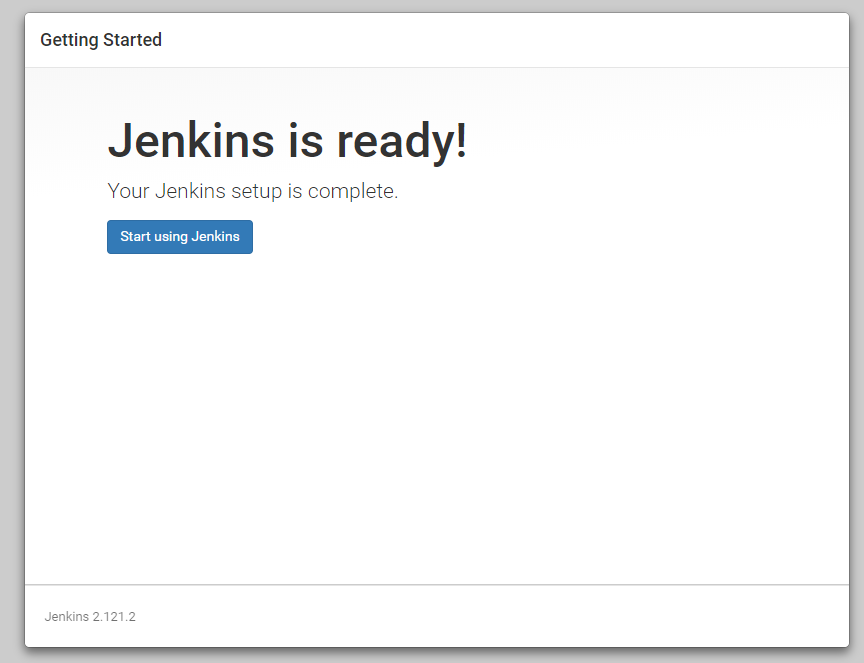
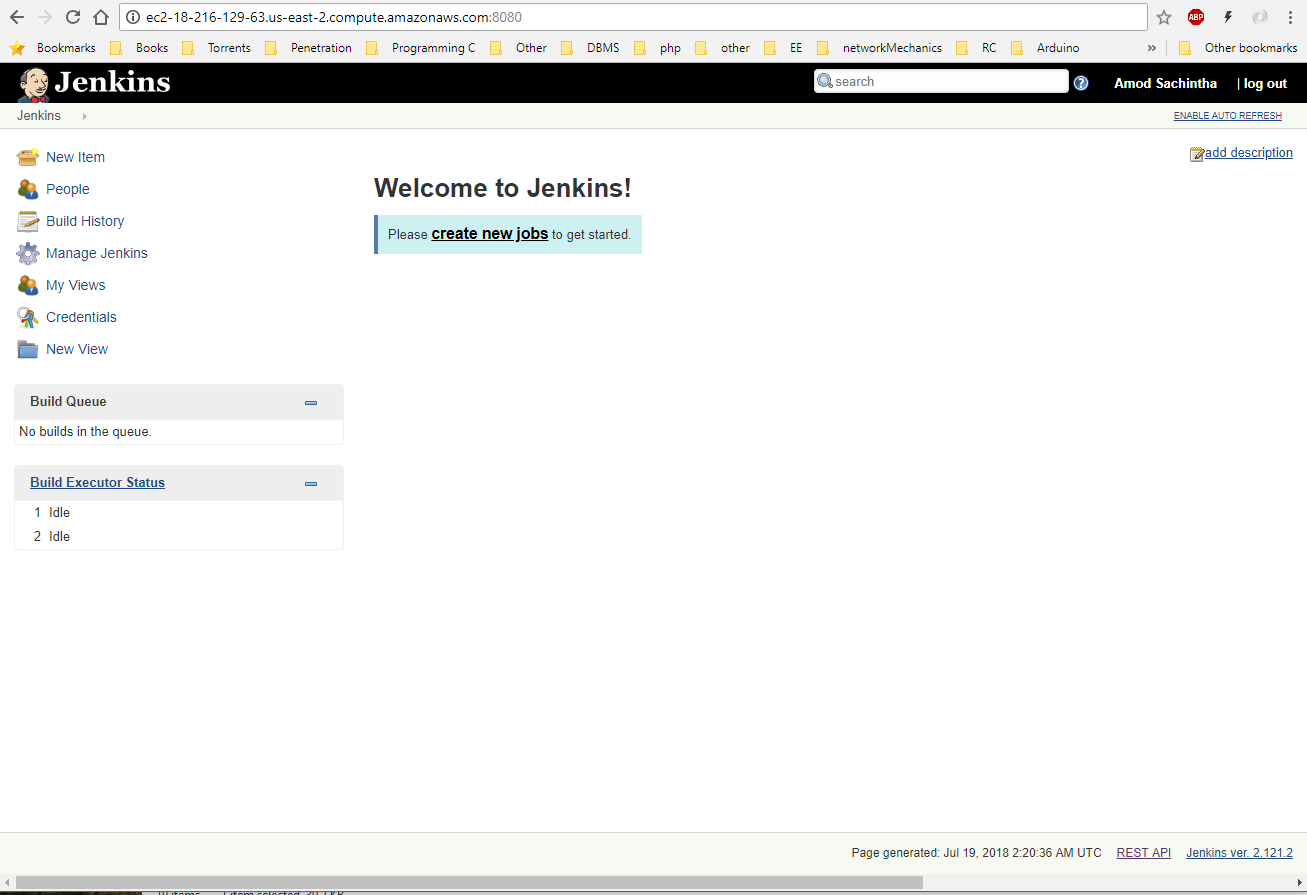
Click on "Start using Jenkins" to visit the Dashboard of the newly installed Jenkins instance.
Conclusion
In this step by step guide, we've installed Jenkins on Ubuntu 16.04 using the project-provided packages, started the server, allowed access through the firewall. After this point, start exploring Jenkins to learn the immense automation capabilities it posses.